


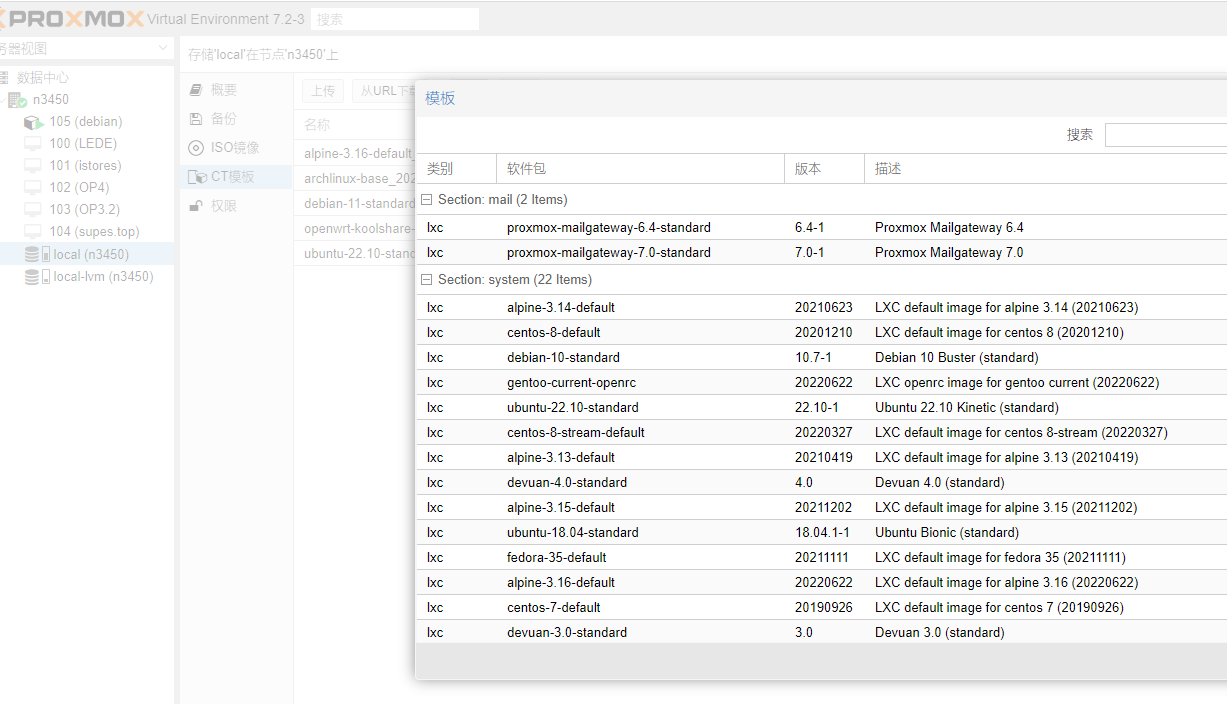
之前安装好了PVE,发现在LXC里的模版不能用,只能直接安装docker了。
1.找到PVE中的shell,输入下述代码
nano /etc/apt/sources.list
将其中的内容删除,更换成下述内容
# deb http://ftp.debian.org/debian bullseye main contrib

# deb http://ftp.debian.org/debian bullseye-updates main contrib

# security updates
# deb http://security.debian.org bullseye-security main contrib
deb https://download.proxmox.com/debian stretch pve-no-subscription

deb https://mirrors.ustc.edu.cn/debian/ buster main
deb-src https://mirrors.ustc.edu.cn/debian/ buster main

deb https://security.debian.org/debian-security buster/updates main
deb-src https://security.debian.org/debian-security buster/updates main

# buster-updates, previously known as 'volatile'
deb https://mirrors.ustc.edu.cn/debian/ buster-updates main
deb-src https://mirrors.ustc.edu.cn/debian/ buster-updates main

# This system was installed using small removable media
# (e.g. netinst, live or single CD). The matching "deb cdrom"
# entries were disabled at the end of the installation process.
# For information about how to configure apt package sources,
deb [arch=amd64] https://mirrors.ustc.edu.cn/docker-ce/linux/debian buster stable
# deb-src [arch=amd64] https://mirrors.ustc.edu.cn/docker-ce/linux/debian buster stable
deb [arch=amd64] https://download.docker.com/linux/debian bullseye stable
# deb-src [arch=amd64] https://download.docker.com/linux/debian bullseye stable2.输入下述代码nano /etc/apt/sources.list.d/pve-enterprise.list
讲原有内容注释掉。(就是在最前端加“#”井号)
3.输入下述代码wget http://download.proxmox.com/debian/proxmox-ve-release-5.x.gpg -O /etc/apt/trusted.gpg.d/proxmox-ve-release-5.x.gpg
等待完成后,输入下述代码;
apt update
等待完成后,输入下述代码;
apt upgrade
等待更新完成;
4.安装Docker.输入下述代码
apt install apt-transport-https ca-certificates curl gnupg2 software-properties-common sudo
如果问你“Y/N”的情况,你就输入"Y"。
5.输入下述代码
curl -fsSL https://download.docker.com/linux/debian/gpg | sudo apt-key add -
这步应该可以省。6.输入下述代码
sudo add-apt-repository "deb [arch=amd64] https://download.docker.com/linux/debian $(lsb_release >-cs) stable"
7.输入下述代码
sudo apt update
8.输入下述代码
apt-cache policy docker-ce
输入完上述代码,你应该出现一堆地址;如果没有就是哪里出问题了
9.输入下述代码
sudo apt install docker-ce
如果问你“Y/N”的情况,你就输入"Y"。
等待完成
10.输入下述代码
sudo systemctl status docker
11.输入下述代码docker run -d -p 9000:9000 -v /var/run/docker.sock:/var/run/docker.sock -v /opt/appdata/portainer:/data --restart always --name portainer portainer/portainer
此时应该已经算装好了;记住此时一个名为9000的端口;
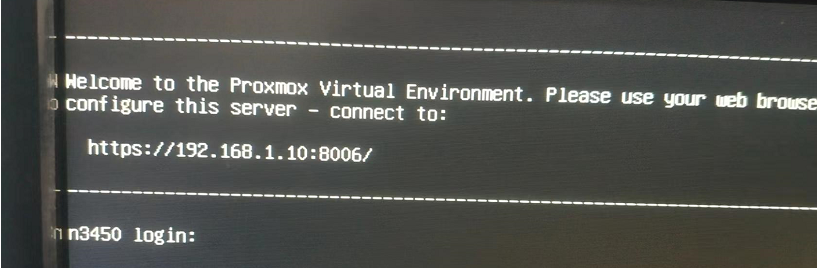
输入你的PVE对应的ip地址加上9000端口;就可以打开对应的docker

注册一个管理员。然后,可能存在差异,现在“local”的应该就行
此时已完成Docker的相关安装。
安装docker-compose 可参考前文


评论 (0)