项目地址
Firelookout Server NG | HPFS server monitor built with URN.ts
https://github.com/kwaitsing/Artemis
演示地址
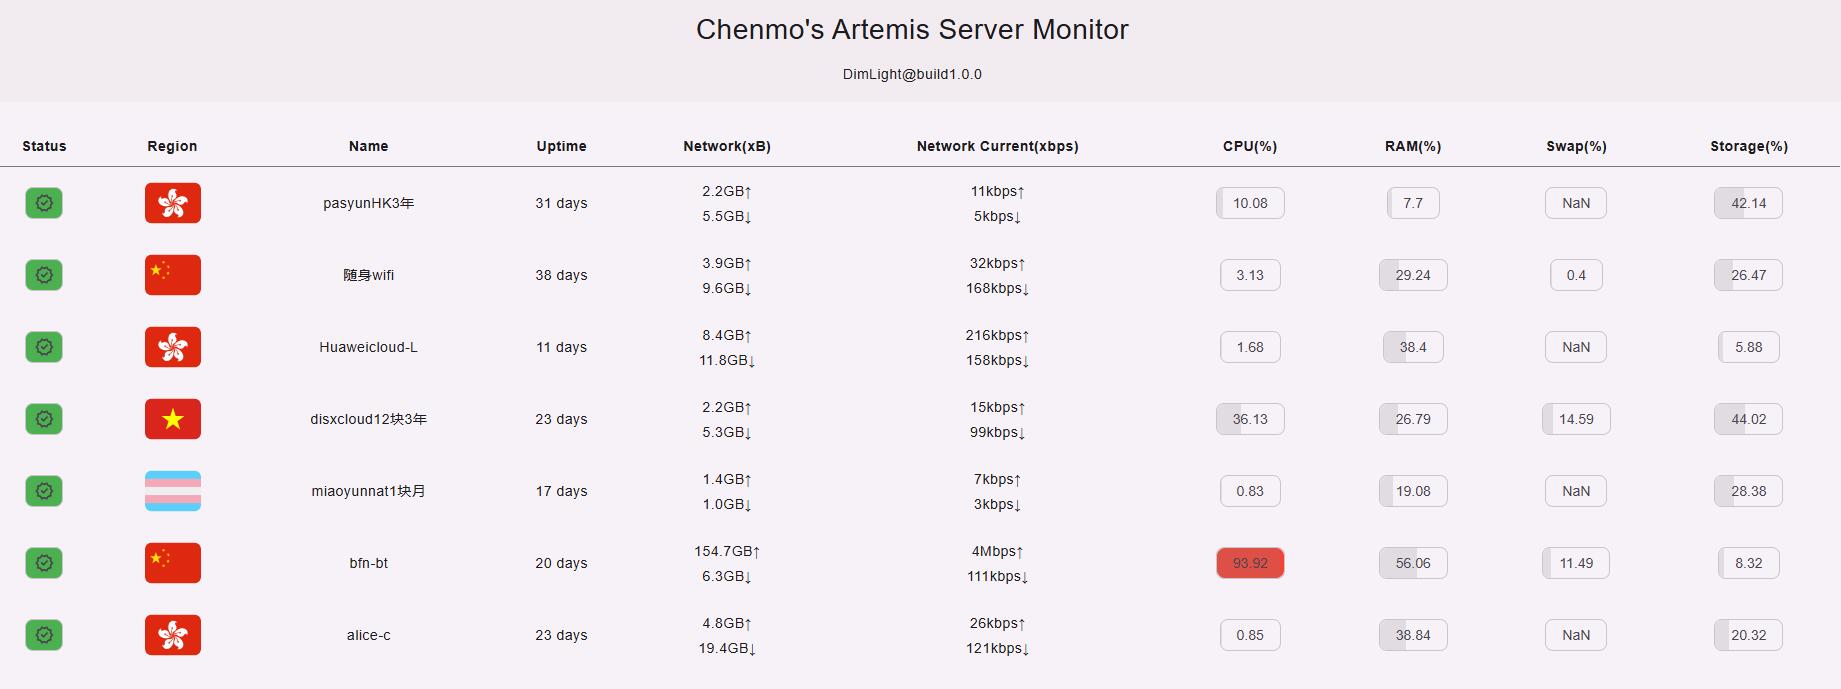
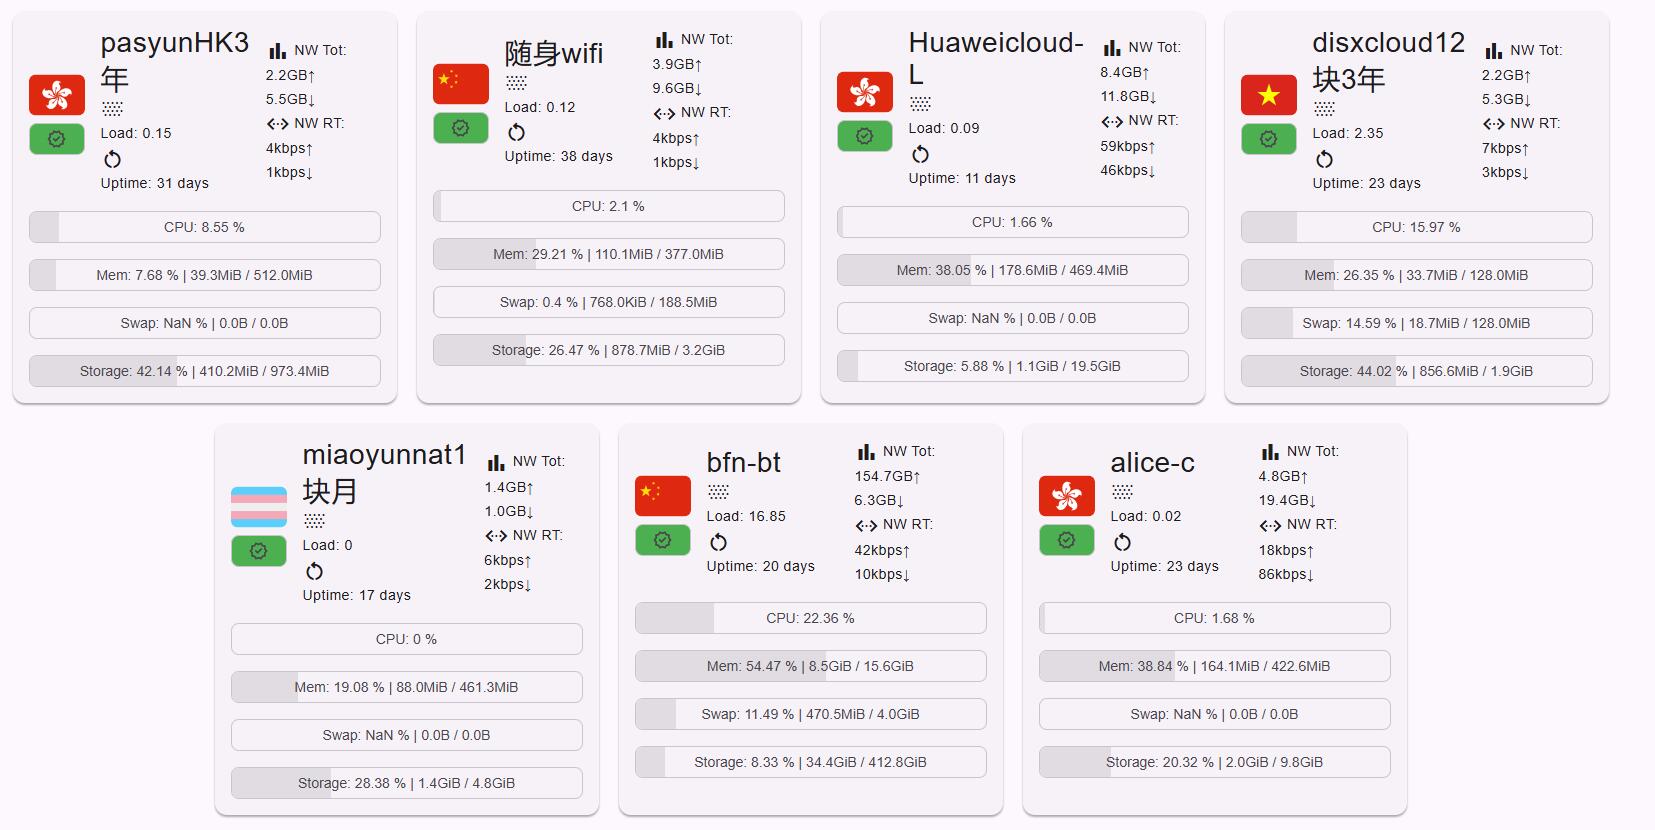
面板端搭建
以debian为例记录一下。
下载脚本:curl -fsSL https://github.com/kwaitsing/Artemis/releases/download/pkg/install_server.sh >install_server.sh
执行安装 bash install_server.sh 8080 EPdnpTjAr0EV5yuDXFf5
这里的端口和passkey需要和客户端的对上
systemctl daemon-reload
systemctl restart ArtemiServer
访问ip:8080应该是404 page not found就说明服务端运行成功了。
搭建前端
1.安装caddy
sudo apt install -y debian-keyring debian-archive-keyring apt-transport-https curl
curl -1sLf 'https://dl.cloudsmith.io/public/caddy/stable/gpg.key' | sudo gpg --dearmor -o /usr/share/keyrings/caddy-stable-archive-keyring.gpg
curl -1sLf 'https://dl.cloudsmith.io/public/caddy/stable/debian.deb.txt' | sudo tee /etc/apt/sources.list.d/caddy-stable.list
sudo apt update
sudo apt install caddy
2.下载前端源码至/artserver并解压
wget https://github.com/kwaitsing/Artemis/releases/download/DimLight%40build1.0.0/frontend.tar.gz
3.设置caddy配置文件
vi /etc/caddy/Caddyfile
:80 {
    # Set this path to your site's directory.
    reverse_proxy   /api* 127.0.0.1:8080
    file_server {
         root /artserver
    }
4.启动caddy
systemctl restart caddy
前端就成功可以访问了。
客户端搭建
下载脚本curl -fsSL https://github.com/kwaitsing/Artemis/releases/download/pkg/install_client.sh >install_client.sh
运行bash install_client.sh ws://example.com:8080 MyServer EPdnpTjAr0EV5yuDXFf5
passkey要和之前设置的一样,MyServer可以随意,域名也可以直接用IP
systemctl daemon-reload
systemctl restart ArtemisClient
其它
Alpine上也是可以部署服务端和客户端的,具体看https://github.com/kwaitsing/Artemis/blob/main/documents/enduser.md



评论 (0)